
Last updated November 15, 2026
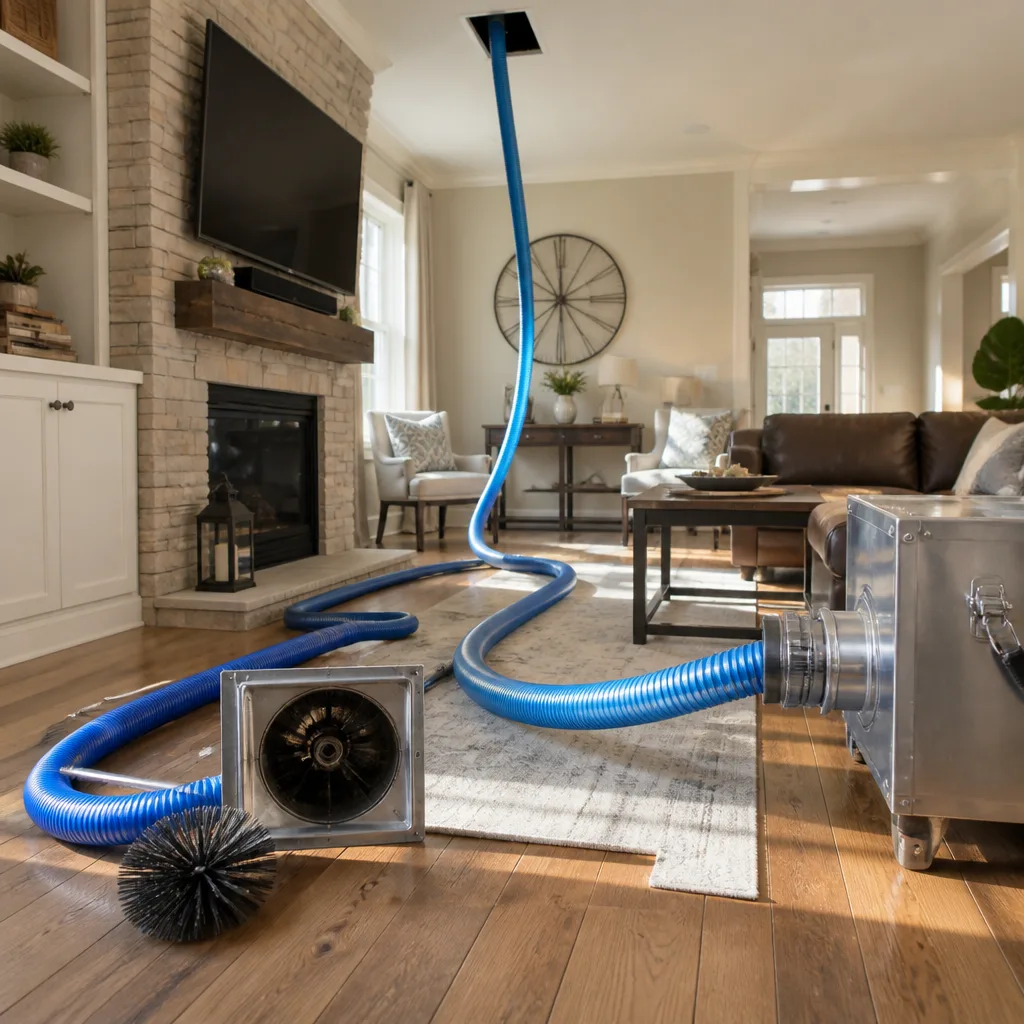 Whole-home duct cleaning
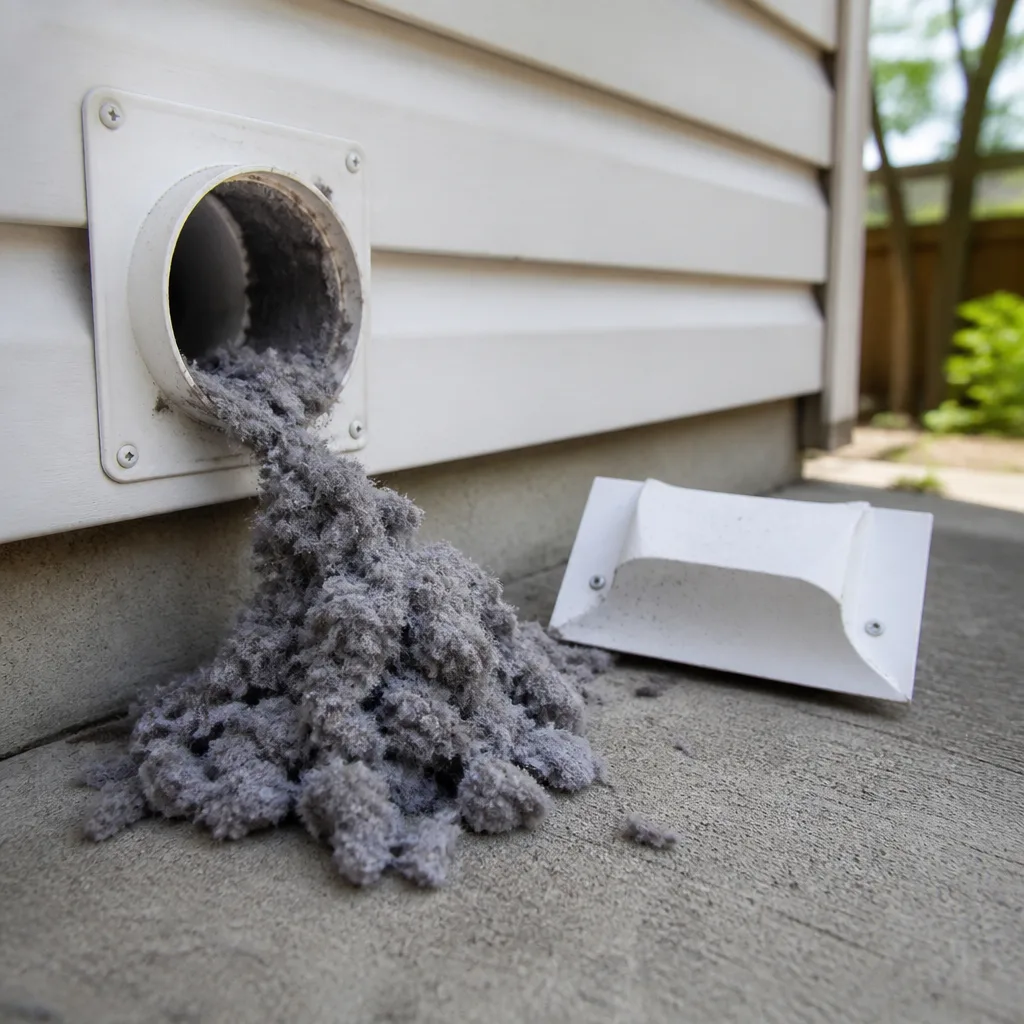 Dryer vent cleaning
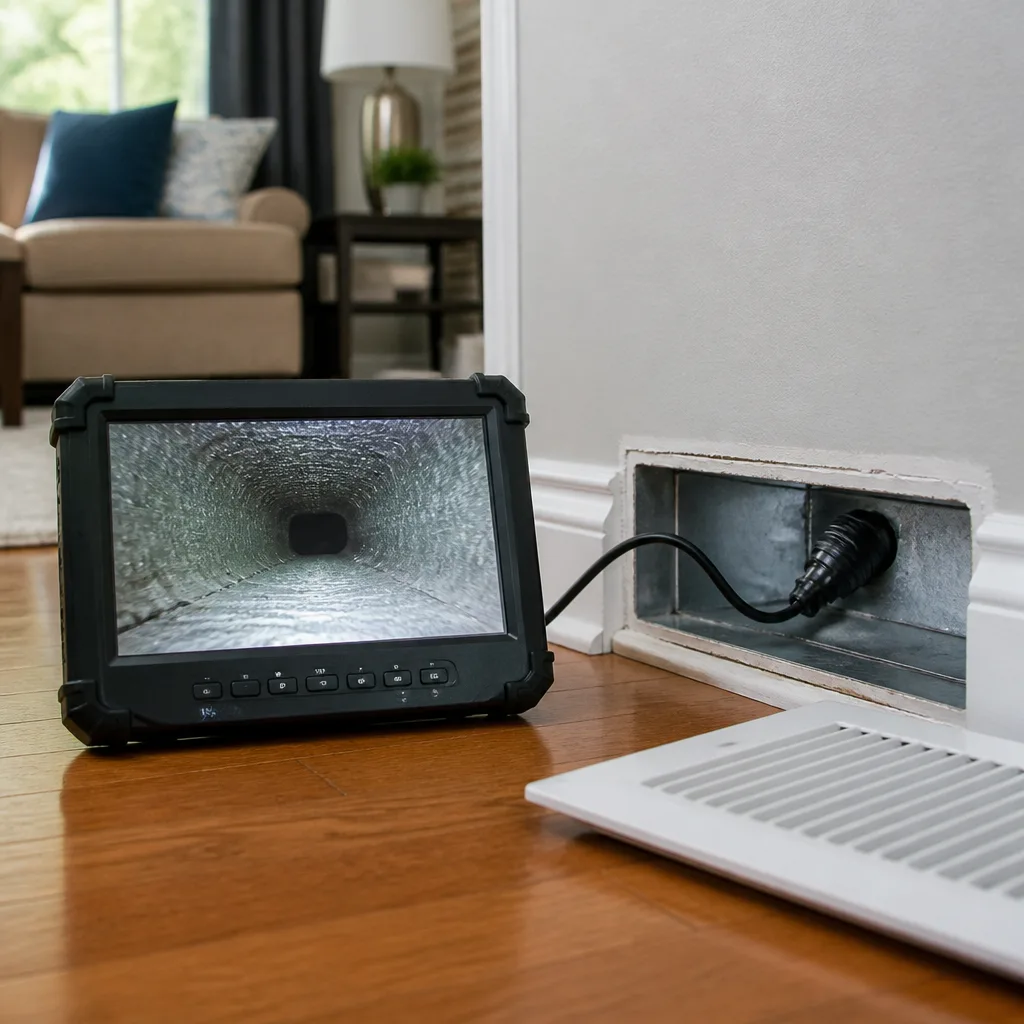 Camera inspection
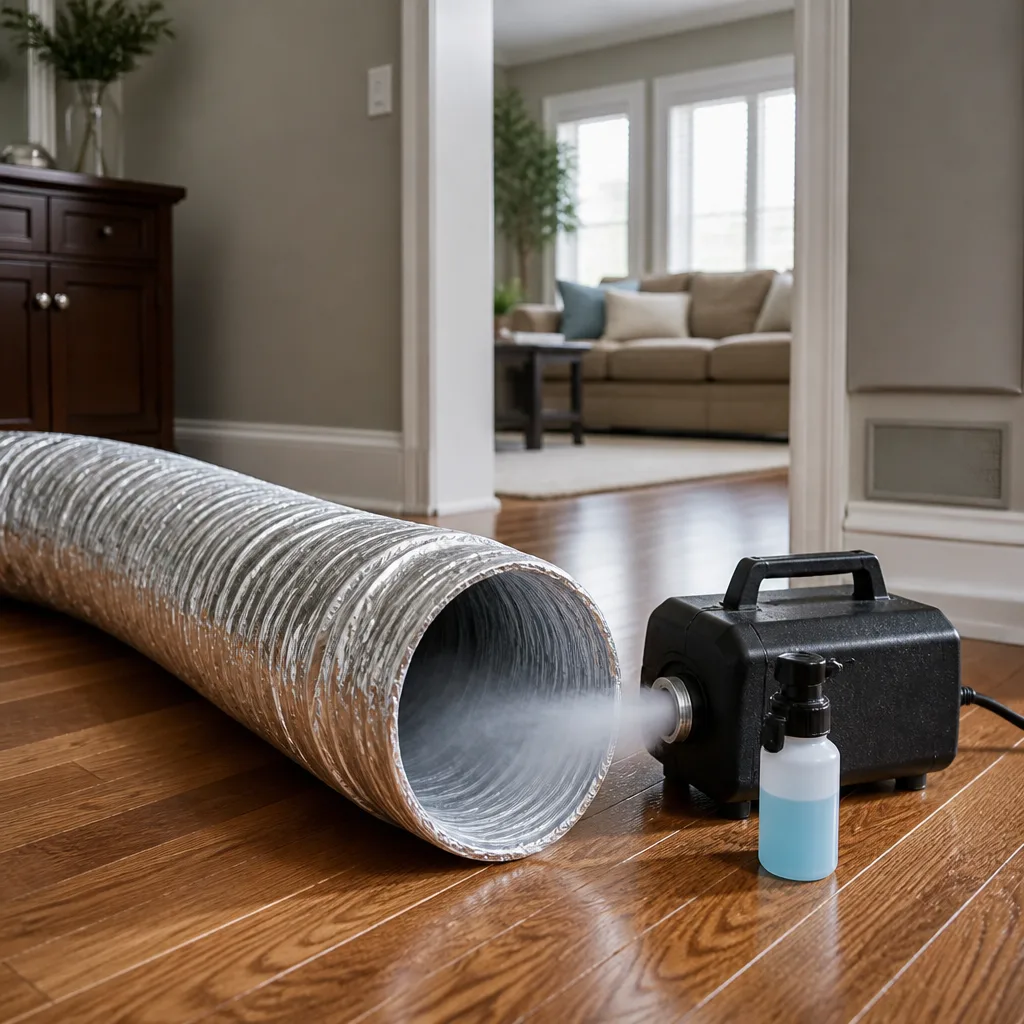 Sanitizing & deodorizing
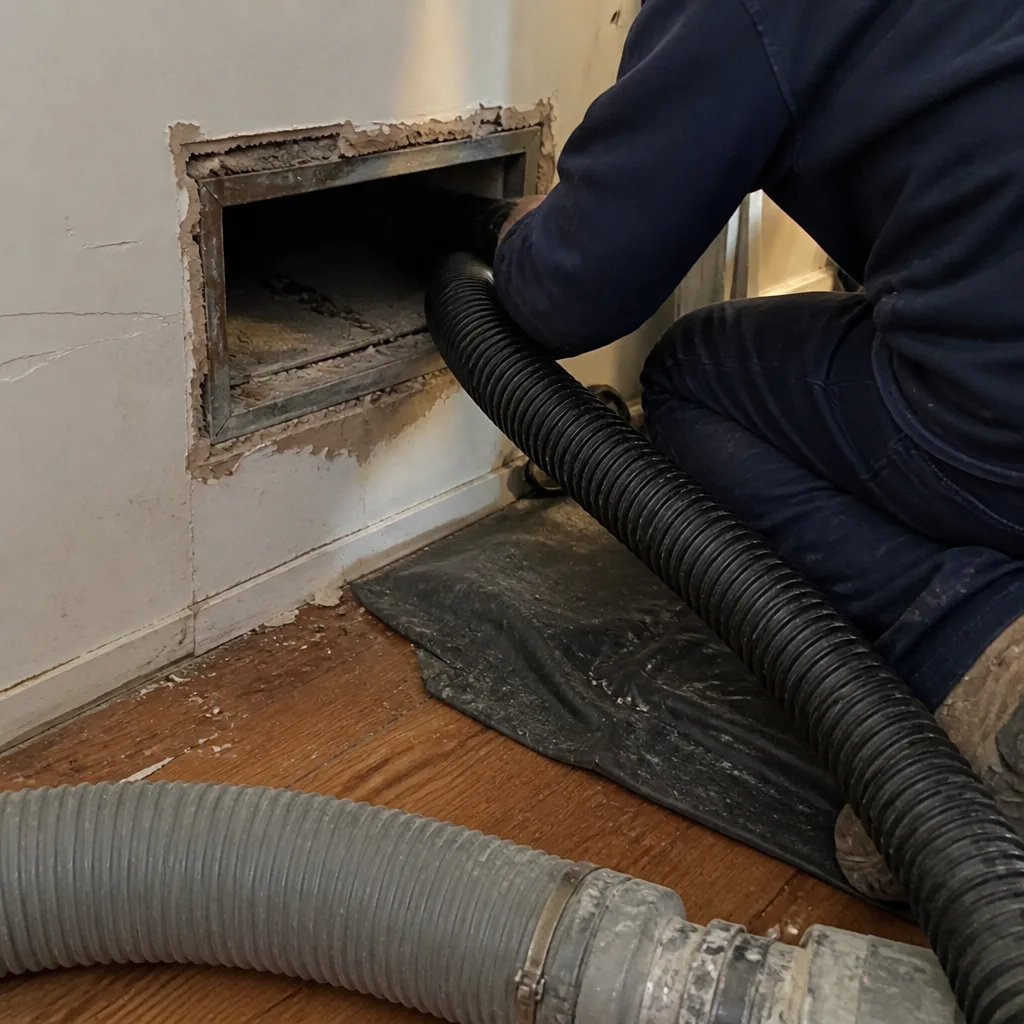
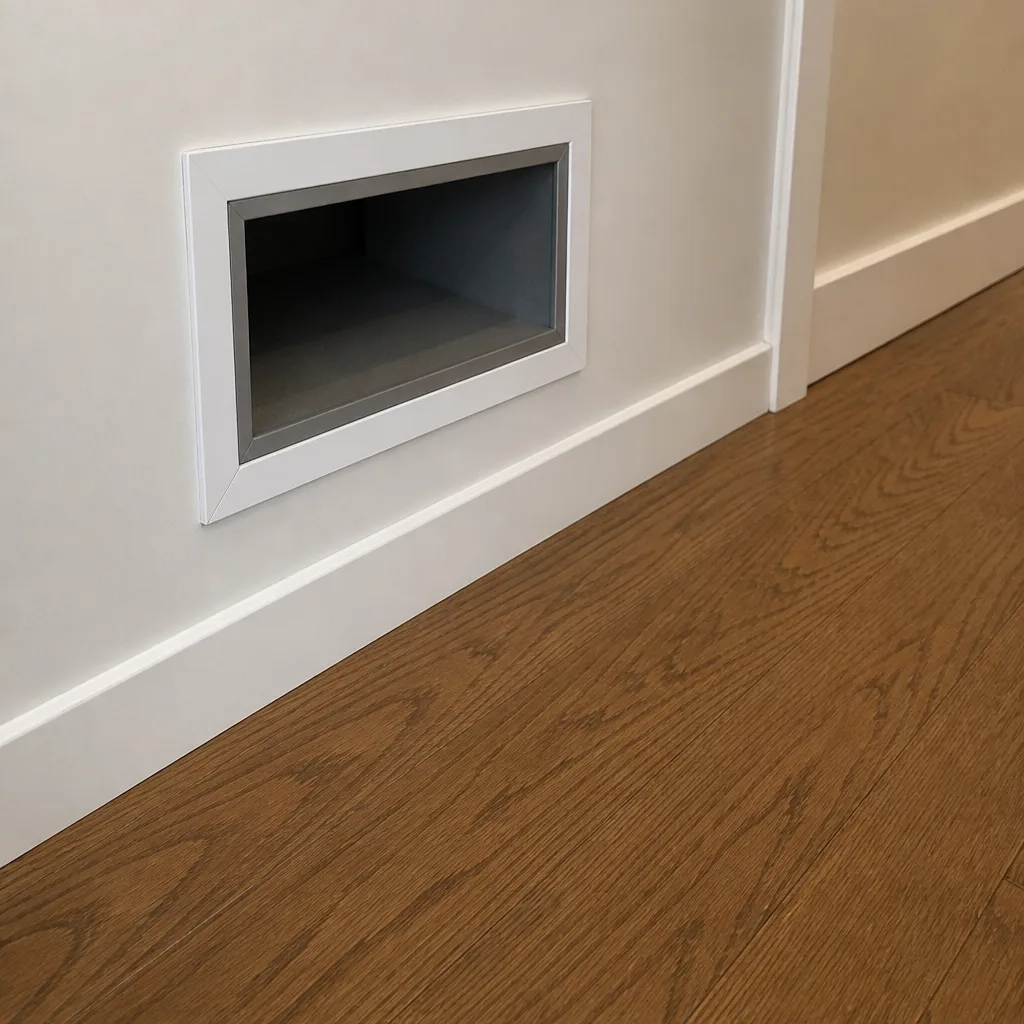
Whole-system duct and dryer vent check with before-and-after photos - you see exactly what came out of your vents
That "$99 whole-house special" is a bait ad - the real number appears once they are in your hallway, or the "clean" is a shop-vac at the register. We photograph the inside of your ducts before and after instead.
Air Duct Cleaning Maintenance Checklist for Centennial Homeowners
Filter checks sit on nearly every duct maintenance list, and they deserve to be there. But almost no homeowner checklist tells you to look at the boot connections behind each register, which is where flex duct separates, crimps, or pulls loose and pushes conditioned air into a wall cavity instead of into the room. That single gap can waste more energy than a dirty filter ever will. In this guide, we replace calendar-based duct advice with condition-based triggers you can actually observe in a Centennial home, walk through what to inspect at each register and at the coil cabinet and plenum, fold dryer vent inspection into the same cycle, and show you how to log filter dates and MERV ratings so you know when professional cleaning is genuinely warranted.
Quick Answer
A duct maintenance checklist should be tied to what you can see and measure, not to a fixed number of years: check filters on a set schedule, inspect every register boot for airflow and separation, check the return box and plenum for dust tracking and gaps, look at the dryer vent for lint, and log the evidence. When you see visible debris blowing from supply registers, uneven room temperatures, rising utility bills, or a heavy dust layer after renovation, that’s the trigger for professional cleaning. Our technicians have up to 10 years of experience, and we use Rotobrush rotary brush systems and Nikro HEPA vacuums on every job.
Styles & brands we work with
- Whole-home duct cleaning
- Dryer vent cleaning
- Camera inspection
- Sanitizing & deodorizing
Table of Contents
- Why Condition-Based Triggers Beat “Every 3-5 Years” Advice
- What to Inspect at Every Register Boot
- The Coil Cabinet, Plenum, and Return Box: What You Can Check Without Tools
- Building a Filter Log: Dates, MERV Ratings, and What the Data Tells You
- Folding Dryer Vent Inspection Into the Same Cycle
- A Seasonal Walkthrough for Centennial’s Climate
- When the Checklist Points to Repair, Not Just Cleaning
- What a Professional Cleaning Actually Involves
Why Condition-Based Triggers Beat “Every 3-5 Years” Advice
Generic duct advice usually says to clean every three to five years. That number is a placeholder. It ignores how many pets live in a home, whether anyone smokes indoors, how much foot traffic moves through the house, and whether the house just came through a major renovation. It also ignores the fact that a duct system in a well-sealed newer build in Centennial with a good filter may stay clean far longer, while a home near a gravel road or one with a compromised return duct can accumulate debris in a fraction of that time.
A checklist built around observable triggers gives you a defensible reason to act. Instead of waiting for an arbitrary year to arrive, you react to something you can see or measure. That is far more useful, and it is the difference between spending money on cleaning when it matters and spending it because a date said so.
The core condition-based triggers are:
- Visible debris at registers. Shine a light into a supply register and look for a dust film, lint, or debris caught in the grille. If it appears within weeks of vacuuming the room, the source is often the duct, not the floor.
- Rising utility bills. A restricted or leaked duct system makes the system run longer to condition the same square footage. Compare bills from the same months year over year rather than month to month.
- Uneven room temperatures. If one room stays warm in summer or cold in winter when the thermostat is satisfied elsewhere, the problem may be airflow in the duct run feeding that room, including a separated boot.
- Post-renovation dust. Drywall dust, sawdust, and insulation particles get pulled into the return system during renovation. That is a strong argument for cleaning once the work is done and the space is cleared.
Each of these is something you observe in your own Centennial home. That makes the decision reversible: you can watch, log, and only then call for an assessment. If you’d like a baseline, a professional air duct cleaning assessment can confirm whether the evidence you’re seeing reflects a real buildup problem.
What to Inspect at Every Register Boot
A register boot is the short metal fitting that connects a duct run to the grille you see on the wall or floor. In many Centennial homes, especially those with attic or crawlspace duct runs, the boot is connected to flexible duct with tape, mastic, or a collar. That connection is a common failure point: flex duct can separate at the boot, get pinched behind the fitting, or work loose over years of temperature cycling.
Here’s what to look for when you inspect each register. This is an observation checklist, not a repair procedure. Anything that requires opening up the wall or ceiling should be handed to a professional.
- Remove the grille carefully. Most supply grilles are held by two screws. Set the screws aside in a cup.
- Look for a gap around the boot. Where the duct meets the boot, look for visible separation, tape that has peeled or dried out, or a gap where light can pass through. Even a small gap can dump conditioned air into a wall cavity.
- Check the flex duct run for compression. Where you can see it, the flex duct should be reasonably straight and round. If it’s crushed, kinked, or pinched against a joist, its capacity drops and the room loses airflow.
- Look for debris in the boot throat. A dust film on the inside of the boot may be normal. A visible pile of debris, lint tufts, or insulation particles suggests active debris migration.
- Check the grille itself. A grille packed with dust restricts airflow regardless of the duct behind it. Clean it and see how quickly the dust returns.
- Note each register’s readout. Record room name, register location, and anything you saw. Repeat across the house, not just the registers in the most-used rooms.
We’ve seen in our experience that the boot attention is the single largest gap in homeowner duct checklists. That’s because it sits out of sight behind a grille most people never remove. If you find a boot that’s separated, that’s a repair issue, and it’s why we keep Duct Cleaning Centennial focused on three services: cleaning, dryer vent, and air duct repair.
The Coil Cabinet, Plenum, and Return Box: What You Can Check Without Tools
You don’t need tools to inspect most of the major system checkpoints. You need a flashlight, a notepad, and the willingness to look closely at a few areas around your furnace and air handler. These are observation points. Actual cleaning inside the plenum or coil cabinet should be handled by a professional with the right equipment, because those areas are sealed for a reason.
The coil cabinet. This is the metal box that houses the evaporator coil, usually sitting on top of the furnace or beside the air handler. With the equipment off, look at the seams. If you see dust streaks or dirt tracks along the edge of a panel, that’s a sign of a leak at that seam. Look at the access panel cover; if it sits loose with gaps, that’s also an air leak. Check for a visible dust layer on accessible surfaces around the coil access, and note how heavy it looks.
The plenum. The plenum is the large duct section directly above the furnace or air handler. Look at the plenum’s seams and the joints where it meets the cabinet. Feel for any obvious gap. Any plenum that has visible debris accumulation on its interior surfaces (where you can see it) or dust streaks on the exterior is worth flagging. Never open the wiring compartment on the equipment, and never work near the electrical panel. Electrical and gas components are for trained professionals only.
The return box. This is the ductwork that brings air back to the air handler. It usually has a large filter grille, and the return box interior is one of the most revealing checkpoints in the system. With the filter pulled out, look inside the return box. A heavy dust layer, hair, lint, or pet fur here means that material was being pulled through the filter, or the filter isn’t seated properly. Check the filter grille’s fit; a return grille that doesn’t sit flush draws unfiltered air around the filter.
Record what you see at each checkpoint. That record is your argument for cleaning or repair, and it’s far more useful than a calendar reminder. A system with sealed seams, a well-fit filter, and no visible debris is a system you can leave alone for now.
Building a Filter Log: Dates, MERV Ratings, and What the Data Tells You
A filter log converts a vague maintenance intuition into a legible record. The point is not the filter itself; it’s the history. If you’ve documented that your filter loads to the point of visible dust film in two months, that’s a data-backed argument that the system is pulling more particulate than a clean system should. If it’s still clean after six months, that’s an argument the opposite way.
Log these fields for each filter change:
- Date installed. The starting point for every subsequent comparison.
- Filter location. There may be more than one: a return grille filter and a filter at the air handler are two different points.
- MERV rating. MERV measures how well a filter captures particles. A higher number captures finer particles but also raises restriction on the system. Write down the number from the filter frame; if it’s not printed, note the manufacturer and size.
- Filter size. Nominal size is printed on the frame edge. Buying the right size prevents unfiltered air from bypassing the frame.
- Condition when removed. Rate how loaded the filter was (light dust, moderate film, heavy mat) and note if any side was noticeably dirtier.
A few points about MERV that matter in Centennial’s dusty shoulder seasons (spring wind and pollen, late-summer dust before the first snow). A very high-MERV filter in a system not designed for it can cause a pressure drop and reduce airflow to the rooms that need it. Use the MERV the system is designed for; the filter frame or manufacturer’s recommendations are the guide. If you’re not sure, keep the filter you’ve been using and log its behavior. The log will surface if your filter cadence is mismatched to the system.
Check the filter according to the schedule you’ve set (monthly is a common cadence in homes with pets, less frequent in pet-free homes with good return design). The log is what turns filter changes from a guess into evidence you can bring to a professional assessment.
If your log shows consistent heavy loading even on fresh filters, the household could have a duct-side issue that a filter can’t solve. In that case, an air duct cleaning assessment is worth scheduling, ideally with the log in hand.
Folding Dryer Vent Inspection Into the Same Cycle
The dryer vent is a parallel maintenance risk that most checklists miss. Lint accumulation in a dryer vent reduces dryer efficiency and, in the worst case, creates a fire risk. In Centennial’s older construction, particularly homes built with long vent runs through exterior walls, the risk is compounded by the length of the run and the number of elbows in it.
You can fold a dryer vent check into the same maintenance cycle you’re already doing for the ducts. Here’s a practical flow:
- Pull the dryer out (if it’s a gas dryer, call a professional for anything that involves disconnecting or working near the gas line).
- Look at the rear vent connection. The flexible connector from the dryer to the wall should be intact, not crushed. Look for a lint trail or a loose clamp.
- Check the exterior vent hood. From outside, the flapper should open freely and lint should not be packed behind it. A flapper that stays stuck partially or fully open can let pests in; a flapper packed with lint blocks airflow.
- Clean the lint trap and the lint trap housing. A lint trap housing that has visible lint buildup beyond the trap screen is a sign of an issue.
- Log the date and what you saw in the same log you use for filters.
If you find compressed lint in the exterior hood, reduce the risk by scheduling a professional dryer vent cleaning. The right equipment matters here: a vacuum that can actually reach the full run and confirm removal, not a shop vacuum working blind. That’s why our kit includes Nikro HEPA equipment and professional extraction tools, so the work is verifiable, not a guess.
A Seasonal Walkthrough for Centennial’s Climate
Centennial’s climate shapes the duct maintenance calendar in practical ways. Spring brings wind and pollen, which load filters faster than in summer. Early summer is the first heavy cooling season, so register airflow and return performance get tested in a hurry. Late summer and fall bring dry air and dust from open-window season. Winter is the heating season, which pulls more air through the system per day.
The seasonal walkthrough below is a reasonable cadence for many Centennial homes. Adjust to your own observations from the log.
Spring. Check every register boot and every return box for debris. Replace the filter and log its condition. Look at the exterior dryer vent hood for lint.
Early summer. Before the cooling season reaches its peak, check that supply airflow is strong at each register. Feel for cool air at the boot. Check the coil cabinet seam for dust streaks. Note any room that lags.
Late summer. Re-check the filter. If it loaded faster through the summer than spring, note that so you can predict next year’s cadence.
Fall. The system transitions to heating mode. Check registers again and look for new debris (drywall dust from fall renovations is common). Check the dryer vent exterior hood.
Winter. With the heating season running, watch for dust film reappearing at registers more quickly. That’s a signal the system is moving more particulate than normal. Log it and consider a professional assessment.
You can also use the seasonal checkpoints to spot evidence of a real problem: a register that’s constantly dusty even after cleaning, a room that lags in temperature, or a return box that fills with lint faster than other returns. Those signal a specific duct-side issue.
When the Checklist Points to Repair, Not Just Cleaning
A maintenance checklist should tell you when the next step is repair, not another cleaning. Cleaning a separated boot doesn’t fix the separation; you’ll be back to the same conditions in a few months. Knowing the difference keeps you from paying twice for the same problem.
The clearest repair signals:
- A visible gap or separation at a boot or duct joint. The separated duct is dumping conditioned air where it shouldn’t. That’s a repair issue.
- A crushed or kinked flex duct run. Compressed duct restricts airflow. Cleaning can’t restore the cross-section; the run may need to be replaced or rerouted.
- A plenum or cabinet seam that leaks. Dust streaks along a seam are a sign of leakage. That’s a repair point, not a cleaning point.
- A return box that shows heavy visible debris with a fresh filter. That can mean the filter is bypassing, so the filter needs proper seating, or there’s a duct-side opening pulling unfiltered air.
We’ve seen in our experience that a repair-first job is often cheaper over a few years than repeated cleanings that don’t address the leak. If you have any of these signals, ask a professional to assess the specific point. Our technicians have up to 10 years of experience and carry the equipment to confirm the cause before recommending repair.
What a Professional Cleaning Actually Involves
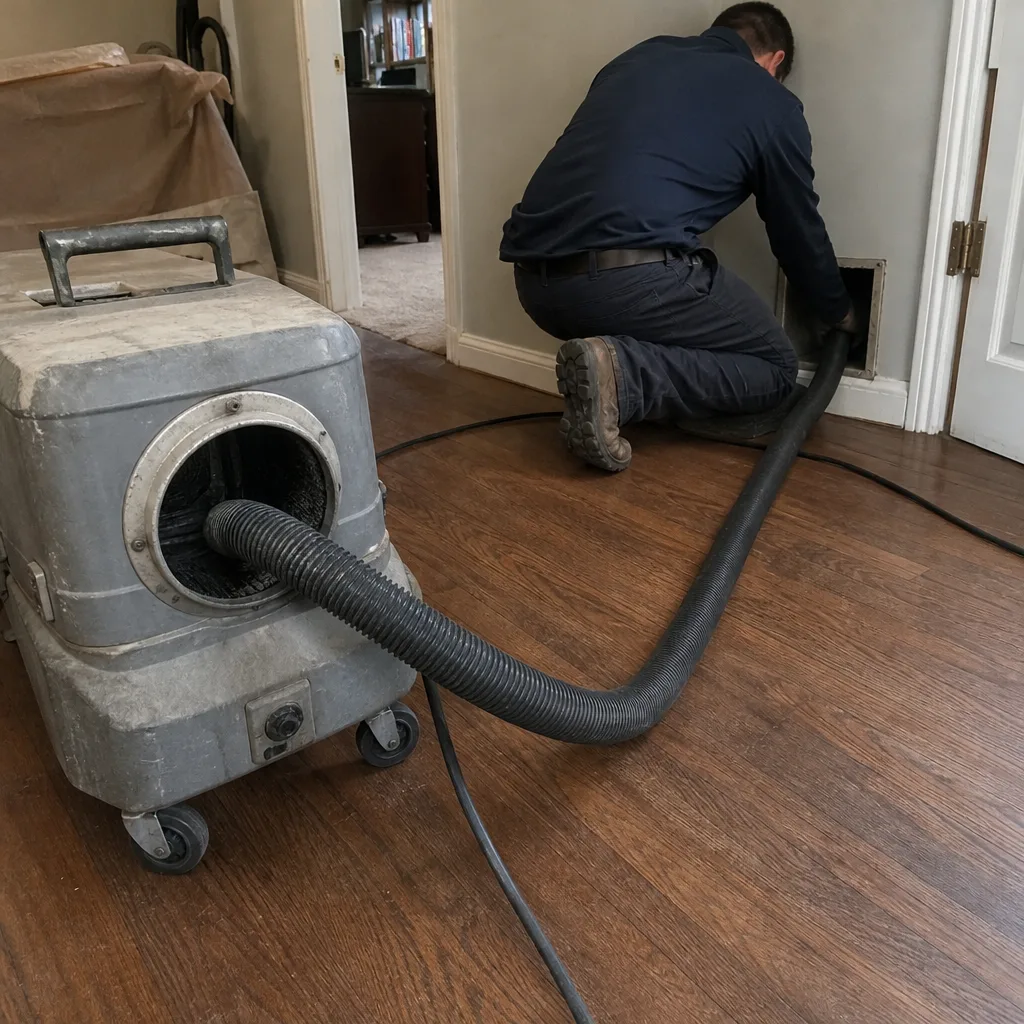
A professional duct cleaning is more than a shop vacuum run through the registers. It’s a contained process, run with equipment designed for the job. Knowing what the process involves makes it easier to evaluate whether a quote is serious.
The professional process typically includes:
- Containment. A HEPA vacuum is connected to the system to maintain negative pressure while the ducts are disturbed. That keeps debris from migrating into rooms. We use Nikro HEPA equipment for this step.
- Mechanical agitation. A rotary brush system (we use Rotobrush) loosens debris from duct walls. The HEPA vacuum pulls the loosened material into containment. That’s a different process from wiping down grilles.
- System-level treatment. Post-cleaning treatment helps deter new accumulation. We use Guardsman protective products as the final step.
- IAQ-grade capability where needed. For homes where air quality isn’t optional (recent renovation, allergy-sensitive household, or a home with an existing air-scrubbing system), the right equipment matters. We handle Abatement Technologies air-scrubbing equipment, and we’re familiar with Aprilaire and Honeywell air quality components, so we can assess the full duct ecosystem instead of just cleaning and leaving.
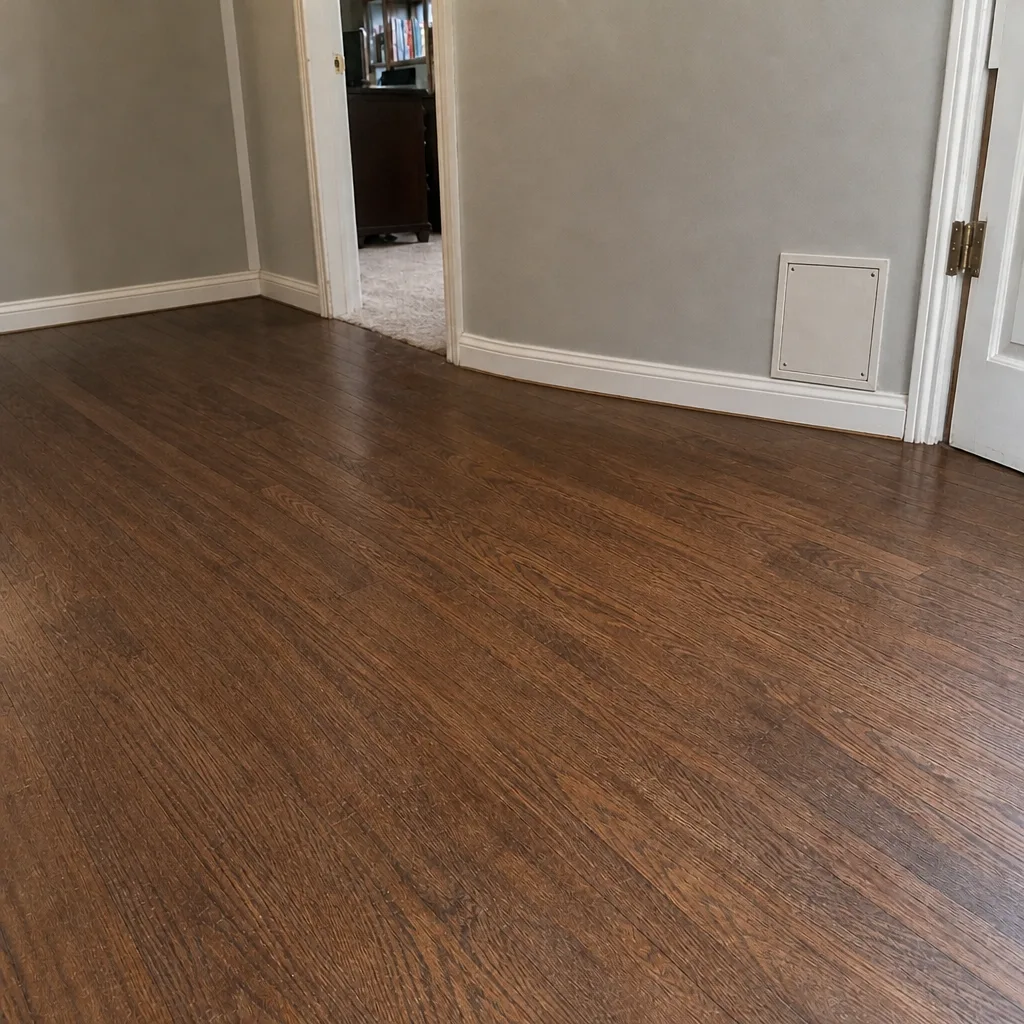
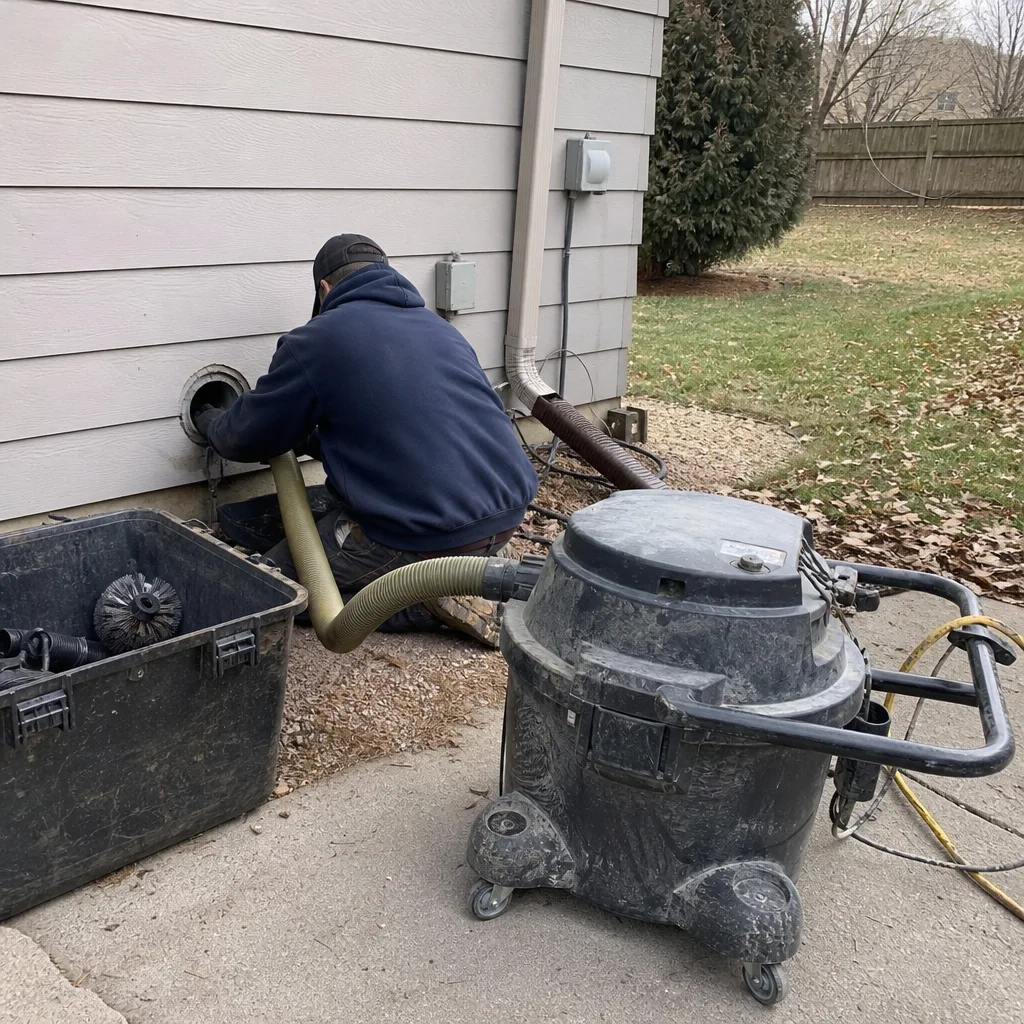
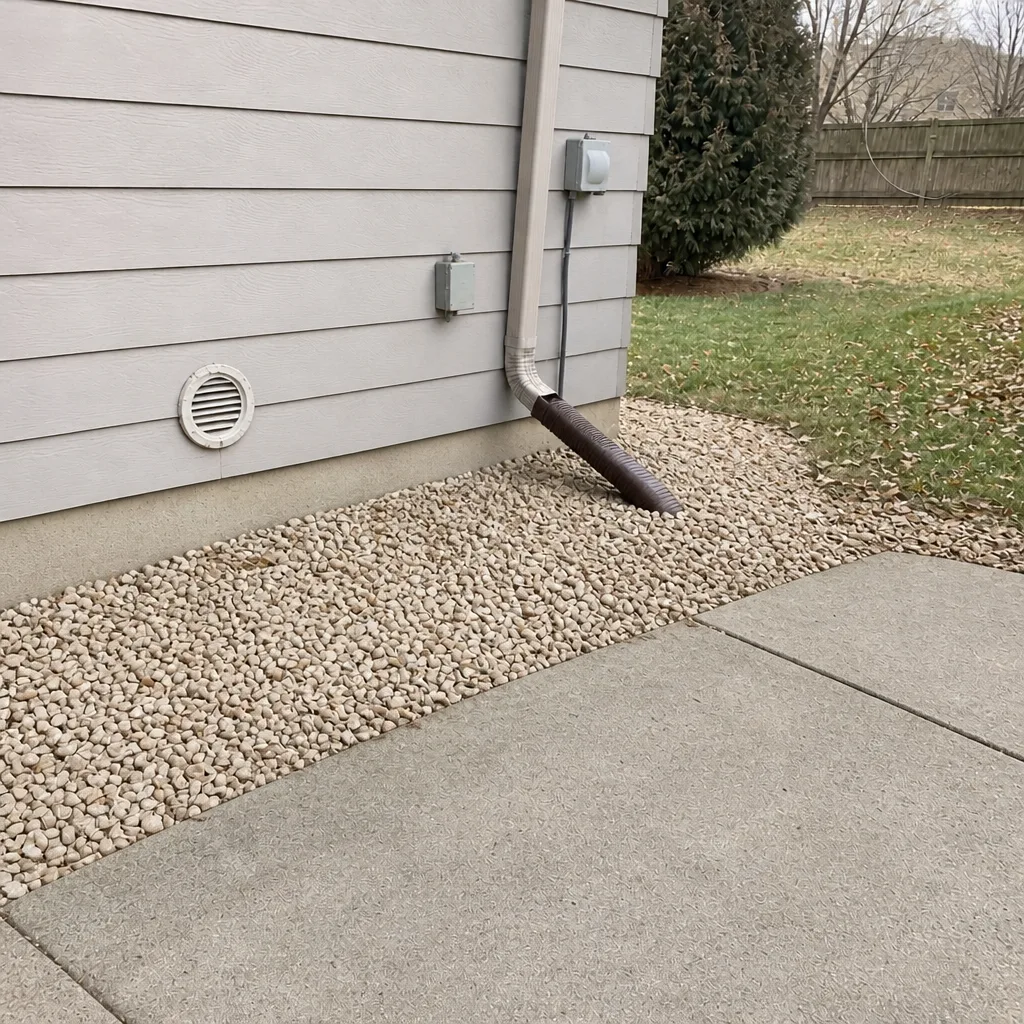
Before and after photos of your own ducts are a reasonable request. Ask for them; it’s one of the surest ways to confirm the work was actually done.
Common Mistakes to Avoid
- Cleaning ducts on a calendar year instead of on evidence. A fixed “every few years” schedule ignores how your actual system behaves. Log filters, register conditions, and return conditions; the log is the right basis for the decision.
- Never removing a register grille. Most homeowners clean the grille from the room side and never look at the boot connection behind it. That’s where flex duct separation hides, and it’s the single largest gap in typical checklists.
- Skipping the return box. The return side is where a lot of debris accumulates. A return box with heavy lint or fur tells you more about the system than the supply registers do.
- Choosing MERV by maximum number. A filter that restricts airflow can cost you comfort. Use the MERV your system is designed for, and log its behavior.
- Treating the dryer vent as a separate job. Lint in the dryer vent is a parallel risk in Centennial’s older construction. Fold it into the same maintenance cycle so it isn’t skipped.
- Cleaning when the real issue is repair. Cleaning a separated boot doesn’t fix the separation. Note the difference and address the underlying issue.
- Not asking for before-and-after photos. A duct cleaning is invisible work. Ask for photos of your own ducts; that’s the simplest way to verify the job was done as described.
See the difference
 Before
 After
 Before
 After
 Before
 After
When to Call a Professional
Call a professional when the checklist surfaces any of the following: a visible gap or separation at a register boot, a crushed or kinked flex duct run, a plenum or coil cabinet seam with dust streaks, a return box with heavy visible debris even with a fresh filter, or a dryer vent with lint that’s packed behind the exterior hood. Also call when the evidence is subjective – after a major renovation, when utility bills climb without explanation, or when one room in the house refuses to keep up with the rest. These are the situations where a professional assessment is worth the phone call. Duct Cleaning Centennial offers free estimates in Centennial – call (888) 597-0329. We answer 24/7. Fast dispatch from 7am to 7pm, Sunday through Friday.
Frequently Asked Questions
It depends on the home, not the calendar. A homeowner with a well-fit filter and no visible debris may go years between cleanings; a home after a major renovation, a home with pets, or a home with a separated boot may need cleaning sooner. Log filter dates and register conditions to make the decision based on evidence instead of a generic “every few years” rule.
Look for a visible gap where the flex duct meets the boot, a peeled or dried tape job, a crushed or kinked duct section, and debris in the boot throat. Any of these is a signal worth noting. A visible separation is a repair issue, not a cleaning issue, and it should be handed to a professional.
No. A higher MERV captures finer particles but also increases restriction on the system, which can reduce airflow. Use the MERV your system is designed for, and log the filter’s behavior with each change. Your log will surface if the filter cadence is mismatched to the system.
With the equipment off, pull the filter and look inside the return box with a flashlight. A heavy dust layer, hair, lint, or pet fur means unfiltered air is bypassing the filter, or the system is pulling more particulate than it should. Note the condition, then reseat the filter properly. Anything more inside the duct should wait for a professional.
Yes, if the renovation produced drywall dust, sawdust, or insulation particles, those materials can migrate into the return system and stay in the ducts and on the equipment. Wait until the renovation is finished and the space is cleared, then have a professional assess whether a cleaning is appropriate.
Low quotes often reflect a shop vacuum run through the registers, not a contained cleaning with HEPA equipment and mechanical agitation. The right comparison is the process, not the headline price. Call (888) 597-0329 for an exact quote – estimates are free.
The Bottom Line
A duct maintenance checklist is only useful if it’s tied to what you can actually see and measure: filter condition, register boot integrity, return box condition, and dryer vent lint, logged on a schedule that fits your home. The register boot is where most homeowner checklists fall short, and it’s worth the effort to remove each grille and look. When the evidence points to a leak or a separated duct, the right call is repair, not another cleaning. When it points to a buildup problem, a professional cleaning with the right equipment confirms what was done. Either way, the decision should come from your log, not a calendar.
Contact Us
If your checklist has surfaced a problem in your Centennial ducts or dryer vent, we’d like to help. Call Duct Cleaning Centennial at (888) 597-0329 for a free estimate. We answer 24/7. Fast dispatch from 7am to 7pm, Sunday through Friday, closed Saturday. Our technicians use Rotobrush rotary brush systems and Nikro HEPA equipment on every job, and we work with Centennial homeowners on cleaning, dryer vent, and duct repair – nothing else. That narrow scope means your technician has seen every duct configuration imaginable, and you’ll know the work is right because you’ll see before-and-after photos of your own ducts.
Written by the team at Duct Cleaning Centennial.